Adding A Form
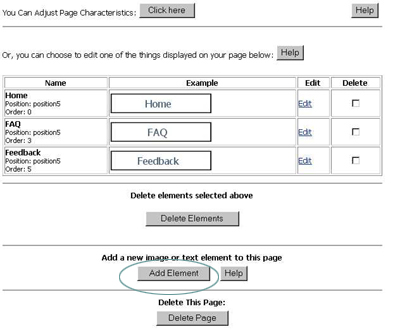
To add a form to this table from the Page Administration screen, scroll to bottom of the page until you locate the Add Element link at the bottom of the page
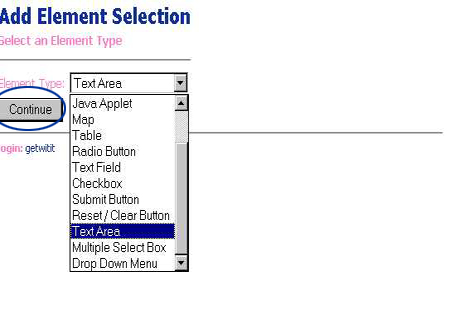
In the Add Element page you will be asked to select an element type.
From the pull down menu select Form

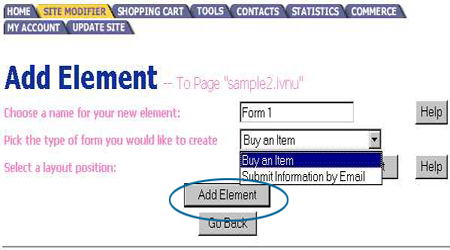
Next you will be prompt to select the type of form you want to add. Buy an Item or Submit information by Email.
Once you have made your selection, click on the "Add Element" link.
This tutorial is on the Submit Information by Email Form.
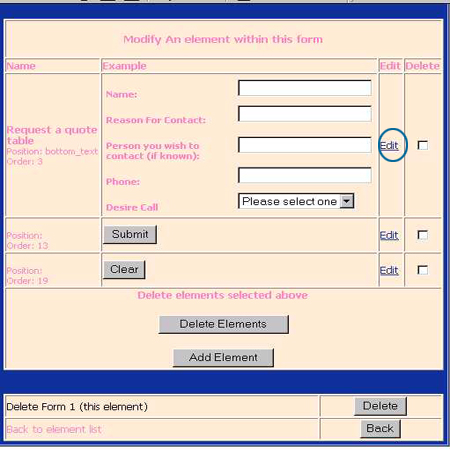
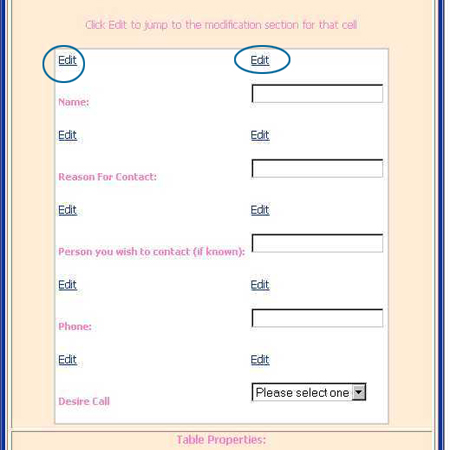
You will be redirected to the Element Administration page for your form. Scroll down that page until you reach the area as outlined below.
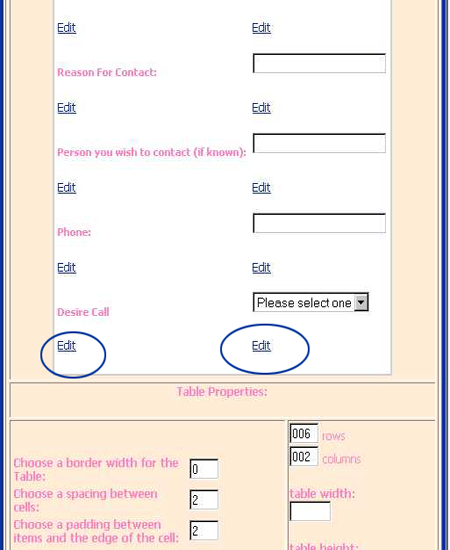
The forms are made in a table format. In order to change the information or lables of the items on the form, click on the edit link next to the item you want to modify.
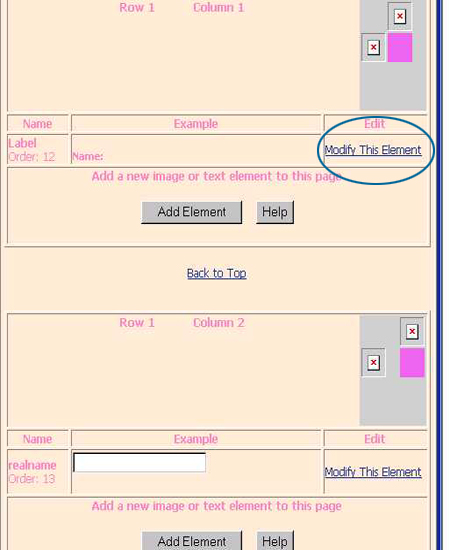
That will take you to a new area in your element administration. Again click on the blue edit link next to the item that you want to edit.
You will then be taken to another section of the modify form screen. Look for the text or image you want to customize and click on the "Modify This Element" link next to it.
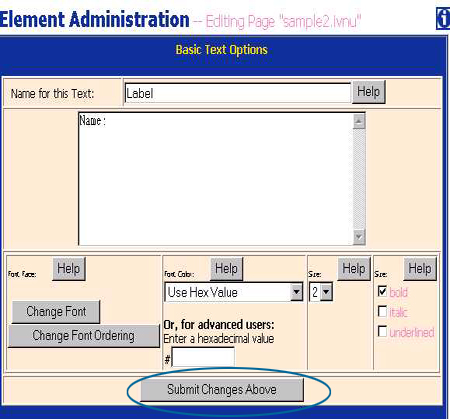
This will take you into a new element administration screen. This is the same screen as used in changing text from earlier in the tutorial. Make your appropiate changes here and click on the "Submit Changes Above" link provided.
The form editor in your software package allows you to implement text boxes, multi line text boxes, radial buttons, pull down menus, multiple select options and many more. For a full view of what we offer click on the "Add Element" link within your form editior.
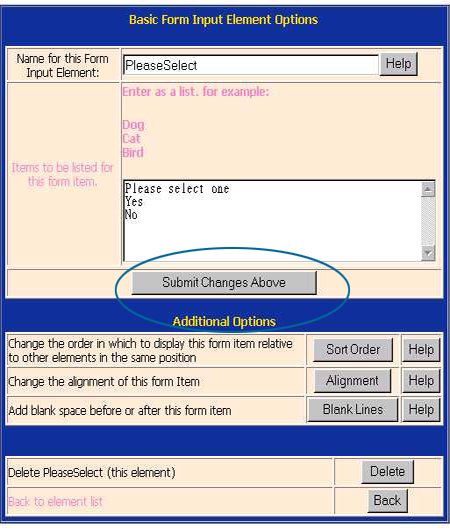
To make changes to the exsisting pull down menu provided with the form clik on the "Modify This Element" link next to the pull down menu element.
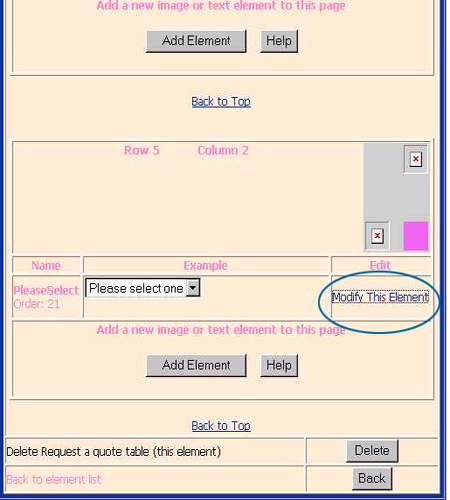
That will take you to the Element Administration page for that element. Notice that "Items to be listed for this form item" are done in a list format. it is imperative that you maintain that format in order for your pull down menu to work accurately.
Once you have
made your appropriate selection click on the "Submit Changes
Above"
Link
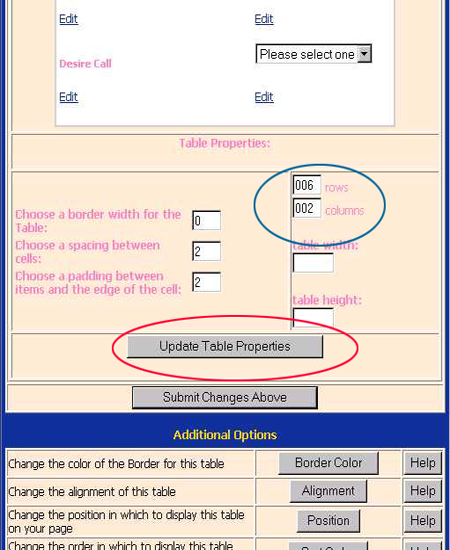
To add a new element to your form in the Table properties of your form element administration add as many new rows to the row field as needed and click on the "Update Table Properties" link.
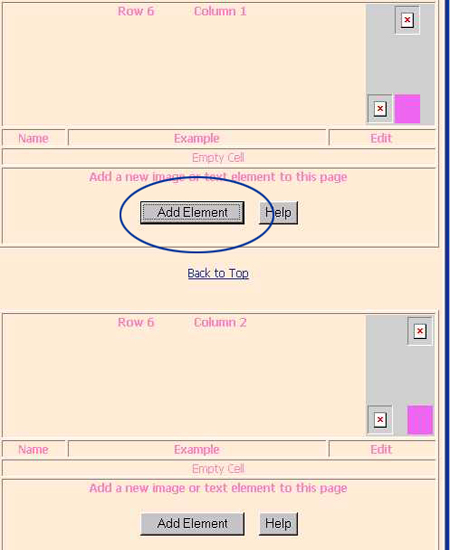
Your table will be refreshed with the new empty elements and new edit links. Click on the blue edit link next to the first empty element box you see.
You will be redirected to the cell that you have selected to modify. You can verify that this is a new element because the cell states Empty Cell. Click on the "Add Element" link underneath the empty cell.
You will be redirected to the Add Element Selection page. You will notice you have more options available to you now than before. If you are unfamiliar with some of the options contact our technical support office for an explanation and walk-through on how to use those element types.